The award from the National Association of S Gaugers (NASG) for my article on building a freight motor in brass was a bigger deal than I thought. A few days after I received the certificate, a courier left a box on the front porch. Inside was a lovely plaque recognizing my contribution to promoting S scale to the broader railway modelling community:
“It’s a major award!”
I mention this not to brag (although I am proud of the model, and pleased my work has been recognized) but to encourage others working in S scale to share their passion with those who do not model in 1:64.
S is not for everyone. But those who like it, like it a lot and it’s a shame more hobbyists don’t explore it – perhaps by tackling a mantlepiece model or small diorama. And as my experience demonstrates, the effort is appreciated.
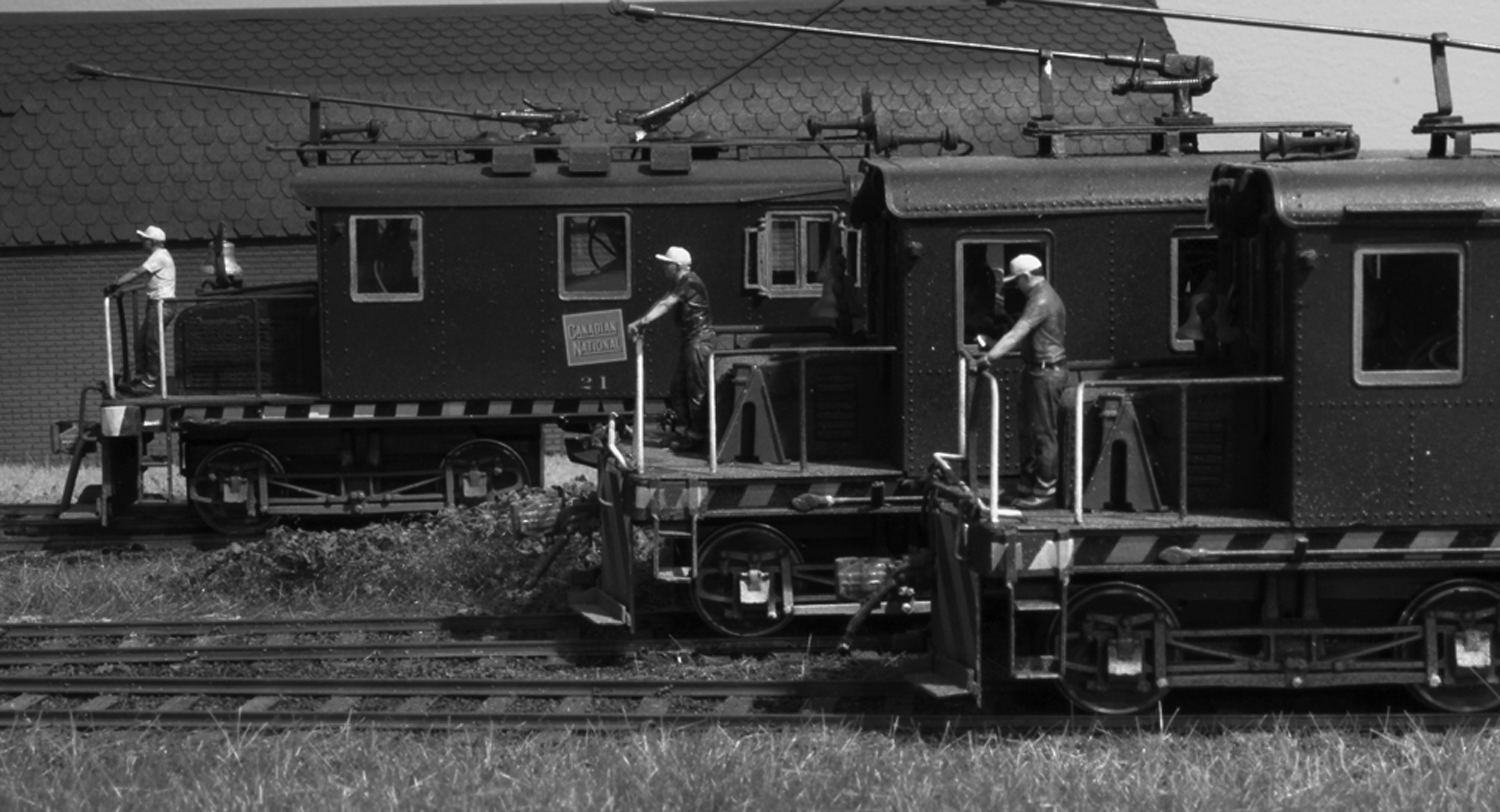
This S scale freight motor is already my all-time favourite construction project…
This week’s mail included a pleasant surprise: An award from the National Association of S Gaugers (NASG) – recognizing my feature in Railroad Model Craftsman magazine about building Niagara St. Catharines & Toronto Railway freight motor 17.
The NASG is a class act, and creating awards like this can only encourage hobbyists to share their love of 1:64 modelling with the wider world.
Those who enjoy building in niche scale/gauge/prototype combinations often end up talking in an echo chamber filled with like-minded modellers. What’s more, one of the frequent topics is, “How to we attract more hobbyists to our favourite combo?”
This award is a good example of what can be done. It’s specifically designed to recognize modellers who have written an article about S scale for a non-S scale publication. What a great way to expose others to what can be done in 1:64.
Thank you to everyone at the NASG who was involved in this. I’m grateful for the recognition: It means a lot.
I’m also grateful to Otto and the team at RMC for being open to running features about niche combinations: If you have an idea for an article, I encourage you to get in touch with RMC to get it published.
My calendar app reminded me that on this day in August, 2011, I embarked on what would be my most successful layout-building project.
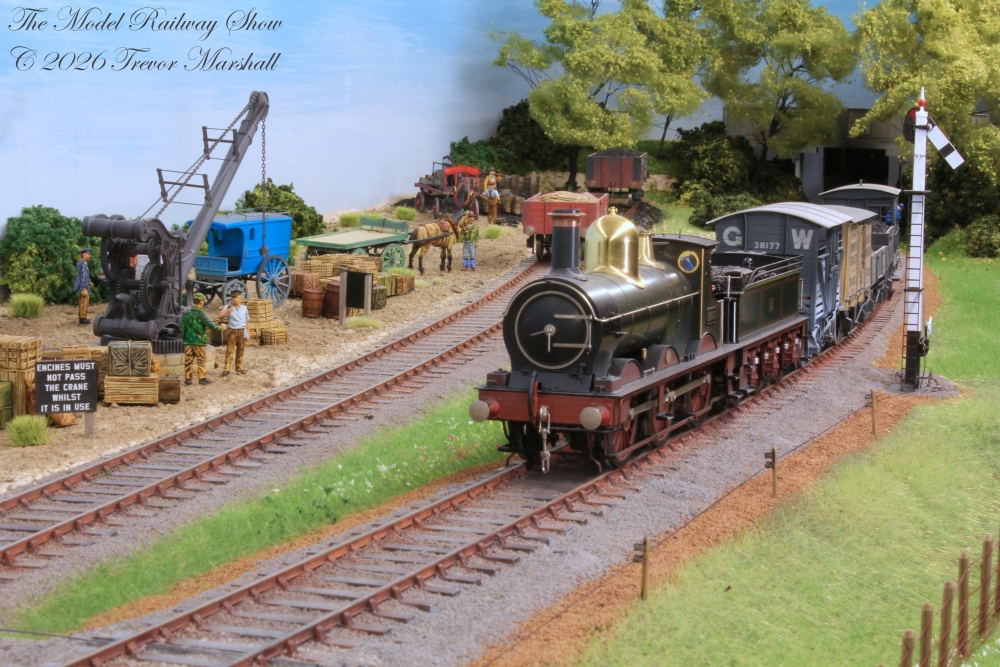
A short freight leaves St. Williams, bound for Port Rowan.
That layout was Port Rowan in 1:64 – an S scale interpretation of a CNR branch line in its final years.
On paper, the layout was simple: It filled an odd-shaped space roughly 14 by 35 feet, but featured just two towns (plus staging) and a grand total of eight turnouts. The layout supported one train at a time operation, with enough work to keep a two-person crew entertained for an hour or so. It’s the very definition of what I came to call an Achievable Layout.
But there was a lot more to Port Rowan than that description suggests.
I have hovered around the prototype modelling sphere for decades and have built (well, started) a number of prototype-based layouts. But Port Rowan marked the first time I had built a layout that looked like a model of a railway, rather than a model railway. By exercising restraint during track planning, I ended up with plenty of room to present the railway in context with its surroundings.
I loved that about it.
In a scene that would never have happened on the prototype, two trains meet at Port Rowan. Note how scenery dominates the scene: I loved how I was able to present the railway as part of a larger world.
Port Rowan’s appearance encouraged me to put the railway in context operationally, too. I embraced what I call “finescale operations”, with prototypically-designed paperwork, a working telegraph system, turnouts controlled by switch stands, and other features. It was very satisfying.
As I reflect on what made it such a success – for me, anyway – I’m considering what lessons from Port Rowan I can apply to my current layouts. Overall, I’m pleased with GWR Bydemill and CNR Pine Street. But I think some improvements are in order for my main layout – based on the Niagara St. Catharines & Toronto Railway.
The NS&T is the project that is closest to my heart, and as a consequence it’s the subject on which I have placed the greatest demands. As I look at it today, I realize the layout I’m building is not measuring up. Changes are in order, and Port Rowan provides me with important insights into what those should be.
Railroad Model Craftsman magazine recently published my Test Track review of Rapido Trains’ Toronto Transit Commission “Gloucester” subway cars, I mentioned that separating the permanently-coupled pairs is easier if one uses tweezers to squeeze the shank at one end of the drawbar. (I call it a drawbar because that’s how it functions, even though it looks like a pair of couplers.) This is also useful if one wants to remove a coupler from either end of a two-car set.
I realized a photo might help, so here it is:
As the image shows, the couplers have a split shank with prongs. These slide through the draft gear box then snap open at the back of the box, locking the coupler in place. There’s just enough room to slide fine tweezers between the truck and the draft gear, to squeeze the pronged ends while pulling the coupler (or drawbar) out from the front.
With his brake van tied down on the main track near the home signal, the junior guard keeps an eye out for the goods train working the yard. Read on to learn why this van is where it is.
A visit last month from an Ontario friend, and the chance to meet a new friend here in Saskatchewan, inspired me to get back to the workbench and the result is GWR 56987 – the second brake van (“Toad”) for Bydemill.
The GWR built 12 of these short-wheelbase vans in 1898 and they ran into the British Railways era. The Diagram AA7 was designed for work in the London area, and it’s assumed their 9′ wheelbase and 16′ overall length was required to fit into short sidings and headshunts around the city. How this one ended up on the Bydemill branch is a mystery but I’m sure glad it did.
I built this model (a short-wheelbase, GWR Diagram AA7) from a Connoisseur Models kit. Like most of the equipment I’m running on Bydemill, this kit consists primarily of photo-etched brass sheets, with some white metal castings.
(According to the info etched on the fret, this kit has been offered since 1996. I’m always surprised by how well British photo-etched kits tend to stand up to the test of time. By contrast, most North American kits from 1996 look positively ancient compared to today’s offerings.)
The basic body, assembled. I used a rivet tool to form the many rivets, which are half-etched on the body pieces. I then folded up the components along the half-etched fold lines and soldered them together. Fortunately, most of my crude soldering work will be well-hidden on the finished model.
This kit came with some lovely white metal details – including two styles of brake stand and a bench with sand boxes. I’ve added round tube in the outboard corners of the veranda: These accept phosphor bronze wires soldered to the underside of the roof so the roof can remain removable for access to the interior.
The body with most details added.
Another view of the body with most details added.
Body, roof, whees, compensation hardware, and brake details, primed.
I upgraded the kit with Slaters sprung buffers and three-link couplings – my standard on the layout, for reliable operation – plus the recommended Slaters wheels. Since the kit does not come with a compensated chassis, I upgraded it by adding the necessary components – offered as a stand-alone kit from Walsall Model Industries. (Compensation holds one axle rigid while letting the other axle rock slightly, to improve the model’s reliability over uneven track work.) I finished the van with lettering from Walsall plus a Modelu 3D printed figure, which I painted.
Finishing this kit does more than add variety to my goods trains: It also enables more prototypical operation at Bydemill.
The midday goods arrives, with two brake vans in tow.
As I noted when I started building this layout, Bydemill is based on Highworth – a terminal on a short branch out of Swindon. In addition to adopting the track arrangement (although straightened to fit on a shelf) I also represented a key feature of Highworth: The steep upgrade as one approached the station. Highworth was reached via a half-mile of 1-in-44 uphill grade (about 2.27%).
As recounted in The Highworth Branch by TM Smith and GS Heathcliffe (Wild Swan Publications, 1979), two guards were typically employed on goods trains. The the junior guard would stay with the brake van, which would be detached some 50 yards from the terminal, on the main track. With rails sanded for traction and handbrake firmly applied, this van would act as a “buffer stop of last resort” should a wagon accidentally roll down the incline while sorting the goods yard. Hitting the brake van would be less traumatic than a runaway wagon (or wagons) resulting in a derailment further down the main track.
I decided to represent this not just with a second guard – but a second brake van. This lets the senior guard still take advantage of having a van while shunting.
The many differences between these two toads are readily apparent in this side-by-side view at the Bydemill platform.
I thoroughly enjoyed building this model: It made for a pleasant week. I look forward to building more wagons – including more brake vans – to add further variety to Bydemill’s operations.